

Whip up Healthy Homemade Breath Mints for Dogs and treat your pup to fresh herb mints that give your pup minty-fresh breath in every bite. These crunchy herby bites blend parsley, mint, and a hint of cinnamon for a refreshing chew that freshens your dog’s breath naturally. Perfect for a quick DIY dental boost—it's beginner-friendly and fun, so grab those fresh herbs and let’s get mixing!
Key Ingredients
These simple, natural ingredients come together to create a tasty, breath-freshening treat your dog will love.
- 2 tablespoons fresh parsley: Bright, nutrient-rich herb that supports digestion and adds a refreshing chlorophyll boost.
- 2 tablespoons fresh mint: Aromatic herb that fights bad breath and lends a cooling flavor dogs adore.
- 1 tablespoon plain Greek yogurt: Creamy binder rich in probiotics to support gut health while holding the mixture together.
- 1 teaspoon coconut flour: Light, gluten-free fiber that absorbs moisture and helps form a firm dough.
- 1/4 teaspoon ground cinnamon: Natural antimicrobial that adds a warm hint and helps battle odor-causing bacteria.
- 1 to 2 teaspoons water: Adjusts the dough consistency so it’s malleable but not sticky, ensuring perfect shapes.
How To Make Healthy Homemade Breath Mints for Dogs
Creating these DIY mints is a breeze, and you’ll be amazed at how simple herbs turn into a firm, flavorful chew. In just a few steps—chopping, mixing, shaping, and chilling—you’ll have a batch of pet-safe mints ready to go. Let’s dive into the full process and get your pup’s breath minty-fresh!
1. Finely chop the fresh parsley and mint: Rinse the herbs, pat dry, then use a sharp knife to chop them into tiny pieces. Transfer the chopped herbs to a small mixing bowl.
2. Combine the Greek yogurt, coconut flour, and ground cinnamon: Add each ingredient to the bowl and stir vigorously until the mixture is smooth and evenly colored.
3. Add water gradually, about 1 teaspoon at a time: Mix thoroughly after each addition until the dough holds together without sticking to your fingers.
4. Shape the dough into small bite-sized balls or press into silicone molds: Use your hands or a spoon to portion out mints, aiming for uniform shapes so they set evenly.
5. Chill on parchment paper: Arrange the mints on a tray or plate lined with parchment paper and refrigerate for at least 30 minutes to firm up fully.
6. Store the set mints in an airtight container in the refrigerator until ready to serve.
Serving Suggestions
Once chilled, these mints make a versatile treat for any occasion. Whether it’s after mealtime or as a fun reward, here are four ideas to serve them to your furry friend:
- Post-meal freshener: Offer one mint after your dog’s dinner to neutralize lingering odors and aid digestion.
- Training reward: Use these mints as a special, low-calorie incentive during training sessions for quick motivation and fresh breath.
- Travel companion: Pack a few chilled mints in a small container when heading out to keep your pup’s breath fresh during car rides.
- Dental day bonus: After brushing your dog’s teeth, reward them with a mint to reinforce good dental habits and make the experience extra positive.
Tips For Perfect Healthy Homemade Breath Mints for Dogs
A few friendly pointers will help you nail these mints every time—no stress, just fresh breath and happy pups!
- Use fresh herbs to ensure maximum nutrients and flavor.
- Adjust the size of the mints to suit your dog’s breed and chewing ability.
- Store mints in an airtight container in the refrigerator for up to 5 days.
- Always introduce new treats gradually and monitor your pet for any adverse reactions.
How To Store It
Proper storage keeps these mints firm, flavorful, and ready whenever your pup needs a breath boost. Here’s how to maintain their freshness:
- Refrigeration: Place the set mints in an airtight container and store in the fridge for up to 5 days to maintain firmness and flavor.
- Freezing: For longer storage, freeze mints individually on a tray until solid, then transfer to a sealed freezer bag for up to one month.
- Avoid moisture: Make sure the container is fully sealed and layer mints with parchment paper to prevent sticking.
- Controlled thawing: When you’re ready to serve frozen mints, thaw them in the refrigerator for 30 minutes to retain shape and texture.
Frequently Asked Questions
Here are some quick answers to common questions about these homemade breath mints:
- Q: How long does it take to prepare and set these homemade breath mints for dogs?
A: The hands-on preparation takes about 10–15 minutes—this includes chopping fresh parsley and mint, measuring ingredients, and mixing the dough. After shaping, refrigerate the mints for at least 30 minutes to firm up, making the total time around 40–45 minutes.
- Q: Can I substitute dried parsley and mint if I don’t have fresh herbs?
A: You can, but be aware that dried herbs are more concentrated. Use about 2 teaspoons of dried parsley and 2 teaspoons of dried mint in place of 2 tablespoons of each fresh. You may need to add a little extra water to help bind the mixture. Fresh herbs are recommended for maximum flavor and nutrients.
- Q: What should I do if the dough is too sticky or too crumbly?
A: If the mixture is too sticky, sprinkle in additional coconut flour, about 1/4 teaspoon at a time, until it firms up. If it’s too dry or crumbly, add water a teaspoon at a time until it holds together easily. The dough should be malleable but not wet.
- Q: How do I adjust the mint size for different dog breeds and chewing abilities?
A: For small breeds, roll the dough into pea-sized balls (about 1/4 inch diameter). For medium or large breeds, you can make balls up to 1/2 inch or press the dough into larger silicone molds. Always choose a size that your dog can comfortably chew without choking risk.
- Q: What is the best way to store these breath mints, and how long will they last?
A: Place the set mints in an airtight container and store them in the refrigerator for up to 5 days. For longer storage, freeze the mints on a tray until solid (about 1–2 hours), then transfer them to a sealed freezer bag and keep for up to one month. Thaw in the fridge before serving.
- Q: How should I introduce these treats to my dog, and how many can I give at once?
A: Start by offering one mint to observe any reaction over 24 hours. If your dog tolerates it well, you can gradually increase to one or two mints per day, depending on size and chewing ability. Always monitor for digestive upset or allergies when introducing new treats.
- Q: Are there any safety concerns or potential allergies I should be aware of?
A: Greek yogurt contains dairy, which may cause issues in lactose-intolerant dogs, so omit or replace with a plain non-dairy yogurt alternative if needed. Ground cinnamon is safe in small quantities but avoid larger amounts. Always consult your veterinarian before introducing new ingredients, especially if your dog has known food sensitivities.
What Makes This Special
These Healthy Homemade Breath Mints for Dogs are a fun, fuss-free way to keep your best friend’s breath fresh and belly happy. The magic lies in the simple blend of parsley, mint, and a whisper of cinnamon—no sneaky additives, just real herbs you might have in your kitchen! It works because Greek yogurt binds the flavors while probiotics support digestion, and coconut flour gives structure without grainy bits. These mints are so easy, you can whip them up before your pup even realizes they need a breath boost. Feel free to print this guide and stash it in your recipe binder for quick access. When you try these mints, drop a comment below or ask questions if you need any help—happy minting!
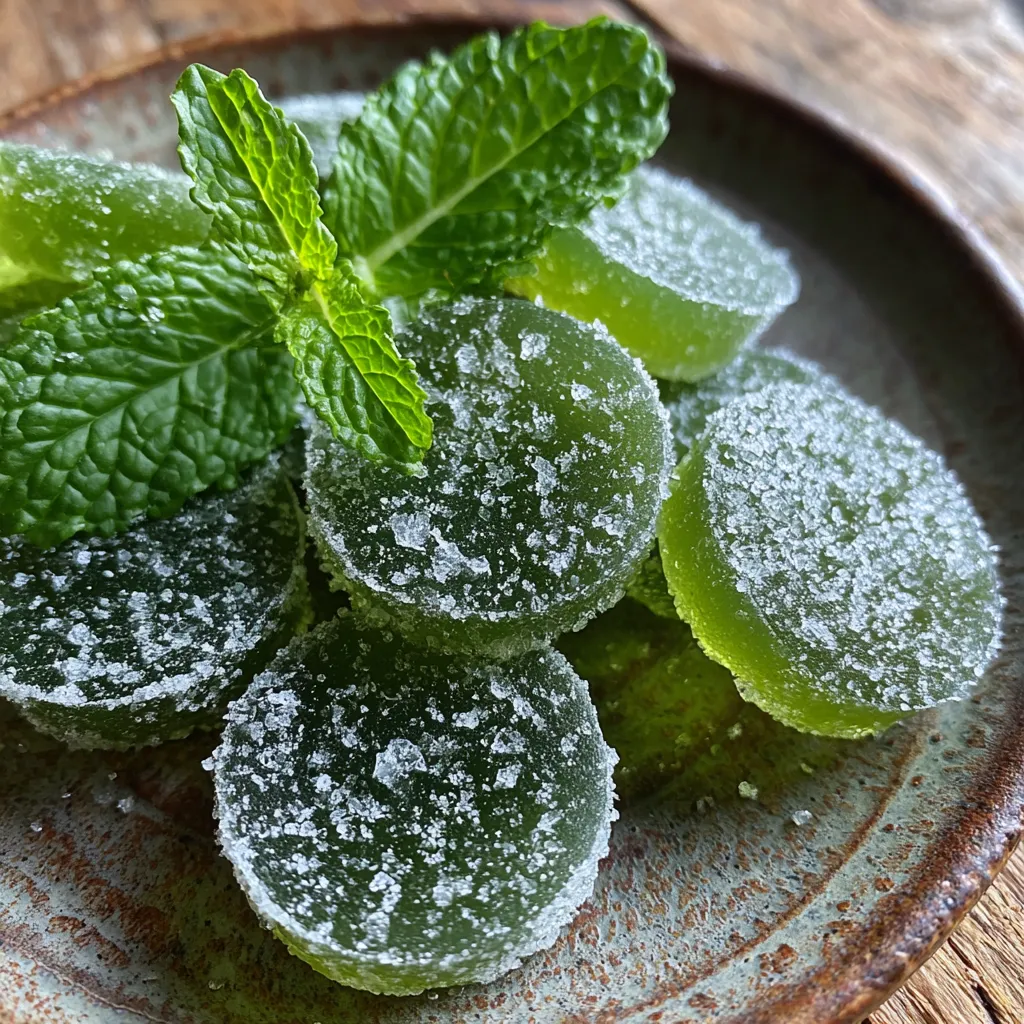

Healthy Homemade Breath Mints for Dogs
Description
Crunchy herby bites blend parsley, mint, and a hint of cinnamon for a refreshing chew that freshens your dog's breath naturally.
Ingredients
Instructions
-
Finely chop the fresh parsley and mint, then transfer them to a small mixing bowl.
-
Add the Greek yogurt, coconut flour, and ground cinnamon to the bowl and stir until well combined.
-
Gradually add 1 teaspoon of water at a time, mixing until the mixture forms a malleable dough that holds together.
-
Roll the dough into small bite-sized balls or press into silicone molds for uniform shapes.
-
Place the mints on a tray or plate lined with parchment paper and refrigerate for at least 30 minutes to firm up.
-
Once set, store the mints in an airtight container in the refrigerator until ready to serve.
Note
- Use fresh herbs to ensure maximum nutrients and flavor.
- Adjust the size of the mints to suit your dog’s breed and chewing ability.
- Store mints in an airtight container in the refrigerator for up to 5 days.
- Always introduce new treats gradually and monitor your pet for any adverse reactions.

