
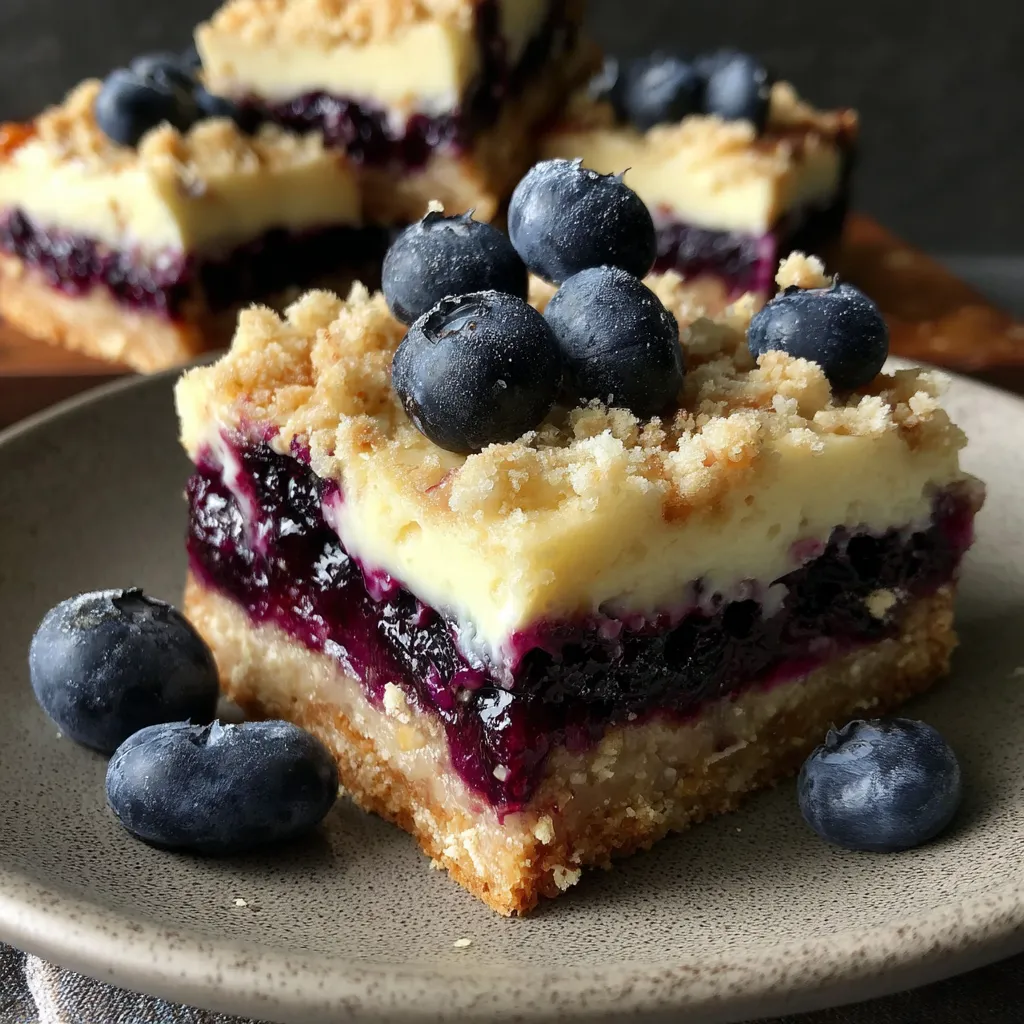
If you’re craving a handheld dessert that marries a buttery shortbread crust with a smooth cheesecake layer and a burst of juicy blueberries, these Blueberry Bars with Cheesecake Layers are about to become your go-to treat. A buttery crust meets creamy cheesecake and a burst of juicy blueberries, all in a handheld bar you’ll keep reaching for. Layers of crisp, buttery shortbread cradle a smooth cheesecake filling, crowned by a glossy blueberry compote and crumb topping that shatters softly with each bite—ready to wow family and friends!
Before diving into the magic of these bars, let’s look at the essentials you’ll need. Each ingredient plays a unique role in building those irresistible layers.
These Blueberry Bars with Cheesecake Layers come together in simple, satisfying steps—layer by layer, you’ll build a dessert that’s as fun to assemble as it is to devour. From whisking the dry mix for a tender crust to whipping up a silky cheesecake filling, and finally draping it all with a vibrant blueberry compote, each stage adds its own character. Once the crumb topping turns golden, you’ll pop everything into the fridge to set those dreamy layers for perfect slicing.
1. Preheat your oven to 350°F and line a 9x9-inch baking pan with parchment paper to ensure easy removal of the bars later.
2. In a large bowl, whisk together 1 1/2 cups all-purpose flour, 1/2 cup granulated sugar, 1/4 teaspoon salt, and 1/2 teaspoon baking powder until evenly combined.
3. Cut in 1/2 cup cold cubed unsalted butter using a pastry cutter or two forks until the mixture resembles coarse crumbs, with pea-sized bits of butter throughout.
4. Press about two thirds of the crumb mixture evenly into the bottom of the prepared pan, using the bottom of a measuring cup to compact it, then bake for 10 minutes until the edges just begin to set.
5. Meanwhile, in a separate bowl, beat 8 ounces room-temperature cream cheese with 1/4 cup granulated sugar until smooth, then add 1 large egg and 1/2 teaspoon vanilla extract and mix until fully combined.
6. Spread the cheesecake mixture over the warm crust in an even layer, then return the pan to the oven for 12 minutes, or until the edges look set and the center still has a slight jiggle.
7. In a small saucepan, combine 1 cup fresh blueberries, 1 tablespoon cornstarch, 2 tablespoons water, and 1 tablespoon granulated sugar. Cook over medium heat, stirring constantly until the mixture thickens and goes glossy, about 3 minutes.
8. Spoon the hot blueberry filling evenly over the baked cheesecake layer, distributing the berries in a single layer.
9. Combine the remaining crumb mixture with 1/2 cup brown sugar, 1/4 cup rolled oats, 1/4 teaspoon ground cinnamon, and a pinch of salt, then sprinkle it over the blueberry layer to create the final crumble.
10. Bake for 15–18 minutes, until the topping turns golden brown, then let cool completely in the pan before chilling for at least 2 hours to allow clean slices.
These bars are a crowd-pleaser whether you’re hosting a brunch or craving an afternoon pick-me-up. Here are four fun ways to enjoy them:
When you follow these pointers, your bars will turn out just right every time—just like they do in my kitchen! Think of the process as building a tasty tower: each layer needs its moment to shine, so give every step the attention it deserves. Chill thoroughly, keep your butter cold, and treat your berries with care to preserve their juiciness. Ready for some insider wisdom? Check out these tips below:
Keeping these bars at their peak means mindful storage. A quick cover and chill will preserve texture and flavor so you can enjoy every layer just as intended.
Sometimes a few pointers can make all the difference—here are answers to your top questions!
A: It takes about 30 minutes of active prep time—including measuring, mixing, and layering—plus roughly 40–45 minutes of combined baking time (10 minutes for the crust, 12 minutes for the cheesecake layer, and 15–18 minutes for the topping). After baking, the bars must chill for at least 2 hours before slicing.
A: Yes, you can use frozen blueberries interchangeably. There’s no need to thaw them first; just stir them into the cornstarch mixture and cook until the filling thickens. You may need an extra minute or two to achieve the right consistency.
A: You’ll know it’s done when the edges of the cheesecake layer look set and the center still jiggles slightly, like firm pudding. The layer will continue to firm up as it cools, so avoid overbaking to keep it creamy.
A: Make sure each layer is baked properly before adding the next. Press the crust firmly and bake it for the full 10 minutes, then cool slightly before spreading the cheesecake. Cook the blueberry filling until it’s thick and glossy, and always chill the finished bars for at least 2 hours to let the layers set.
A: To make them gluten-free, replace the all-purpose flour with a 1-to-1 gluten-free baking blend that includes xanthan gum. If your blend doesn’t contain xanthan gum, add ¼ teaspoon to ensure the crust and topping bind properly.
A: For a bright twist, stir in 1 teaspoon of lemon zest to the blueberry filling. You can also swap the brown sugar in the topping for coconut sugar for a deeper caramel note or mix chopped nuts such as almonds or pecans into the crumb topping for added crunch.
A: Store the bars in an airtight container in the refrigerator for up to three days. Keep them chilled and well covered to prevent them from drying out or absorbing other odors.
These Blueberry Bars with Cheesecake Layers hit all the right notes: a buttery shortbread crust, pillow-soft cheesecake, and a vibrant blueberry compote under a crunchy crumble. They’re perfect for sharing (or keeping all to yourself—we won’t judge!). Print this page, stash it in your recipe binder, and let us know how they turn out. Questions, tweaks, or rave reviews? Drop a comment below—I’m here for all the blueberry bar bragging!
Layers of crisp, buttery shortbread cradle a smooth cheesecake filling, crowned by a glossy blueberry compote and crumb topping that shatters softly with each bite.

Hey there ! I'm Julia Martinez, and welcome to my kitchen where tradition meets innovation. Growing up in a multigenerational household, I learned that the best recipes aren't just about ingredients – they're about the stories, memories, and love that get passed down through each carefully prepared dish.