
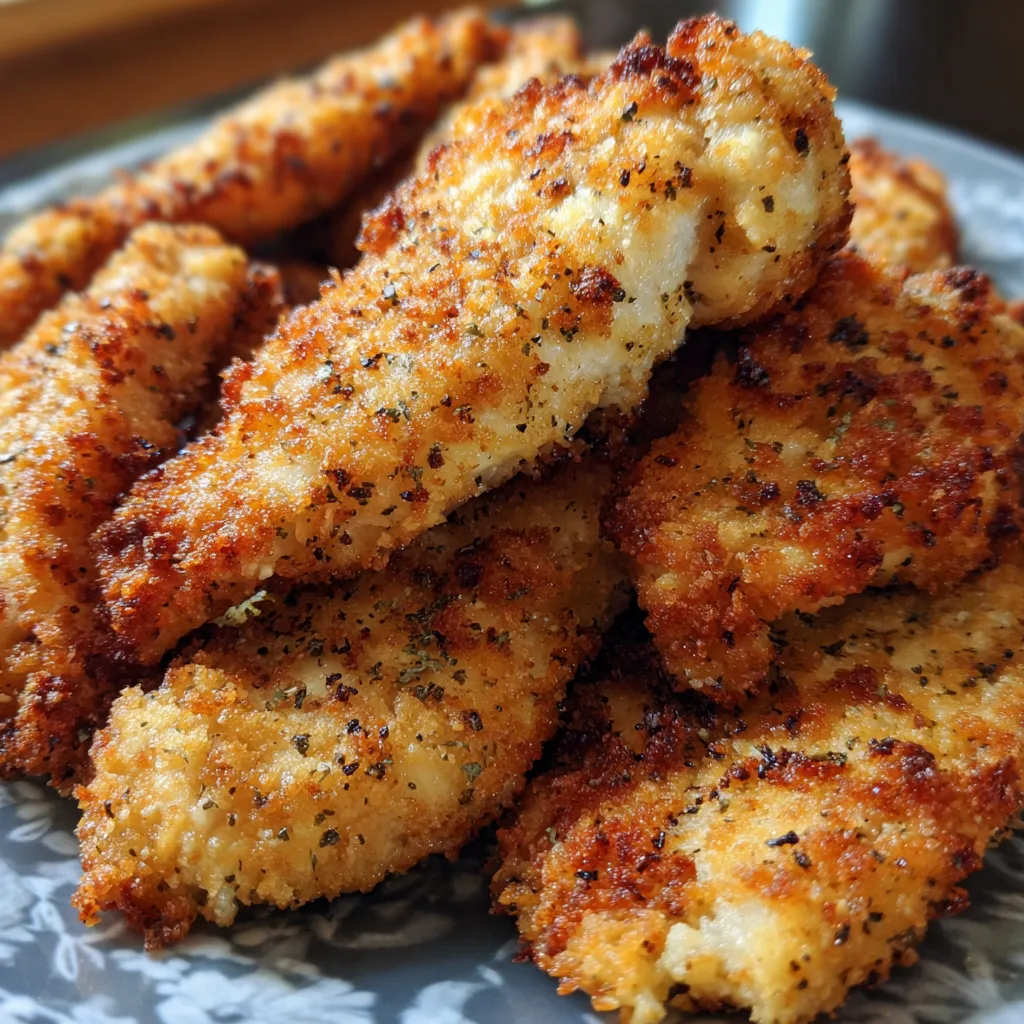
Crispy Homemade Baked Chicken Tenders deliver that perfect golden crunch on the outside and a juicy, tender interior—all in under 30 minutes. With a simple mix of garlic powder, paprika, onion powder, and just a hint of cayenne, these fuss-free tenders are ideal for busy weeknights or game-day snacking. Whether you’re feeding picky eaters or hosting friends, this beginner-friendly recipe turns everyday pantry staples into a crowd-pleasing favorite you’ll want to make again and again.
Let’s round up the essentials that make these tenders so irresistibly crispy and flavorful:
Breading and baking these chicken tenders is surprisingly easy and hands-on. You’ll set up a three-step dredging station, coat each strip in flour, egg, then seasoned panko, and bake until golden and crisp. A quick spritz of oil on top locks in that irresistible crunch. Follow these detailed steps to nail perfect tenders every time:
1. Preheat your oven to 400°F (200°C) and line a baking sheet with parchment paper or lightly grease it with cooking spray to prevent sticking.
2. Set up a breading station with three shallow dishes: in the first, combine all-purpose flour, salt, and black pepper; in the second, whisk the eggs until frothy; in the third, mix breadcrumbs, garlic powder, onion powder, paprika, and cayenne pepper until evenly spiced.
3. Take a chicken tender and coat it evenly in the flour mixture, shaking off any loose flour to avoid clumps.
4. Dip the floured tender into the egg wash, ensuring full coverage; let any excess egg drip off before moving on.
5. Roll the egg-coated tender in the breadcrumb mixture, pressing gently to help the crumbs adhere in a uniform layer. Place on the prepared baking sheet.
6. Repeat the breading process for all tenders, giving each one the same attention for consistent crispiness.
7. Once all tenders are arranged, lightly spray the tops with cooking spray or drizzle a bit of olive oil to encourage golden browning.
8. Bake for 15–20 minutes, flipping the tenders halfway through so both sides become evenly golden and crunchy. They’re done once the internal temperature reaches 165°F (75°C).
9. Remove from the oven and let the tenders rest for 5 minutes before serving—this helps the juices redistribute and keeps the coating crisp.
These chicken tenders shine when paired with complementary sides and dips. Here are four easy ways to serve them:
Getting that flawless crunch and juicy center is all about technique and timing. Here are some friendly pointers to elevate your tenders:
Keeping your tenders fresh and crispy relies on proper storage. Whether you’re saving leftovers or prepping in advance, here’s how to maintain texture and flavor:
Here are answers to your most common chicken tender curiosities:
From start to finish, you should allow about 30–35 minutes. That includes 10–15 minutes to set up your breading station—measuring and mixing the flour, eggs, and seasoned breadcrumbs—plus 15–20 minutes in the oven at 400°F (200°C). Allow an additional 5 minutes of resting time after baking for the juices to redistribute and the coating to firm up.
First, shake off excess flour before dipping each tender into the egg wash, as too much flour can prevent the egg from adhering properly. After the egg dip, press the breadcrumbs firmly onto each chicken strip to secure the coating. Place them on a parchment-lined sheet with space between each piece, then finish with a light spritz of cooking spray or a drizzle of olive oil. Turning the tenders halfway through baking also promotes even crisping on all sides.
Yes, you can freeze the breaded tenders raw. Lay them in a single layer on a parchment-lined tray and freeze until firm, then transfer to a freezer bag. When ready to bake, add 5–7 extra minutes to the cooking time—baking straight from frozen at 400°F (200°C) for about 20–25 minutes—until the internal temperature reaches 165°F (75°C). If you prefer to bake first and freeze cooked tenders, cool completely, freeze on a tray, then reheat at 350°F (175°C) for 8–10 minutes to restore crispiness.
The most reliable method is to use an instant-read thermometer; the internal temperature should register 165°F (75°C) at the thickest part. If you don’t have a thermometer, cut into the thickest piece: the meat should be opaque white with clear juices running out and no pinkness remaining.
Swap all-purpose flour for a gluten-free flour blend and use gluten-free panko or finely crushed rice crackers to keep the texture light. For a lower-carb option, almond flour and crushed pork rinds make an excellent coating. You can also choose whole wheat breadcrumbs or skip the egg wash and use a light coating of Greek yogurt to bind the crumbs.
Classic options like ranch and honey mustard complement the savory coating. For a sweet-and-spicy twist, mix sriracha with honey. Barbecue sauce provides a smoky contrast, while tzatziki adds a cool, tangy counterpoint. You can also blend mayonnaise with garlic powder and lemon juice for an easy aioli.
Feel free to swap or add spices in the breadcrumb mix. For an Italian flair, stir in dried oregano, basil, and a pinch of grated Parmesan. For a Tex-Mex twist, replace the paprika and cayenne with chili powder, cumin, and chopped cilantro. You can also add lemon zest and crushed rosemary for a bright herbal note. Simply mix your chosen spices into the breadcrumbs before coating.
These Crispy Homemade Baked Chicken Tenders shine because they strike the perfect balance of crunch and juiciness while using simple pantry staples and minimal hands-on time. From setting up an easy three-step breading station to that final spritz of oil, every tip is designed for foolproof results. Whether you’re a beginner or a seasoned cook, you’ll love how this fuss-free method delivers restaurant-quality crispiness right from your oven. Go ahead and print this page, tuck it in your recipe binder, and let me know in the comments how your tenders turned out—or drop any questions you have. Happy baking!
Golden-brown breadcrumbs crackle as you bite into these juicy chicken tenders, seasoned with garlic, paprika, and a hint of cayenne. Ready in under 30 minutes, they’re a fuss-free, crowd-pleasing dish.

Hey there ! I'm Julia Martinez, and welcome to my kitchen where tradition meets innovation. Growing up in a multigenerational household, I learned that the best recipes aren't just about ingredients – they're about the stories, memories, and love that get passed down through each carefully prepared dish.