
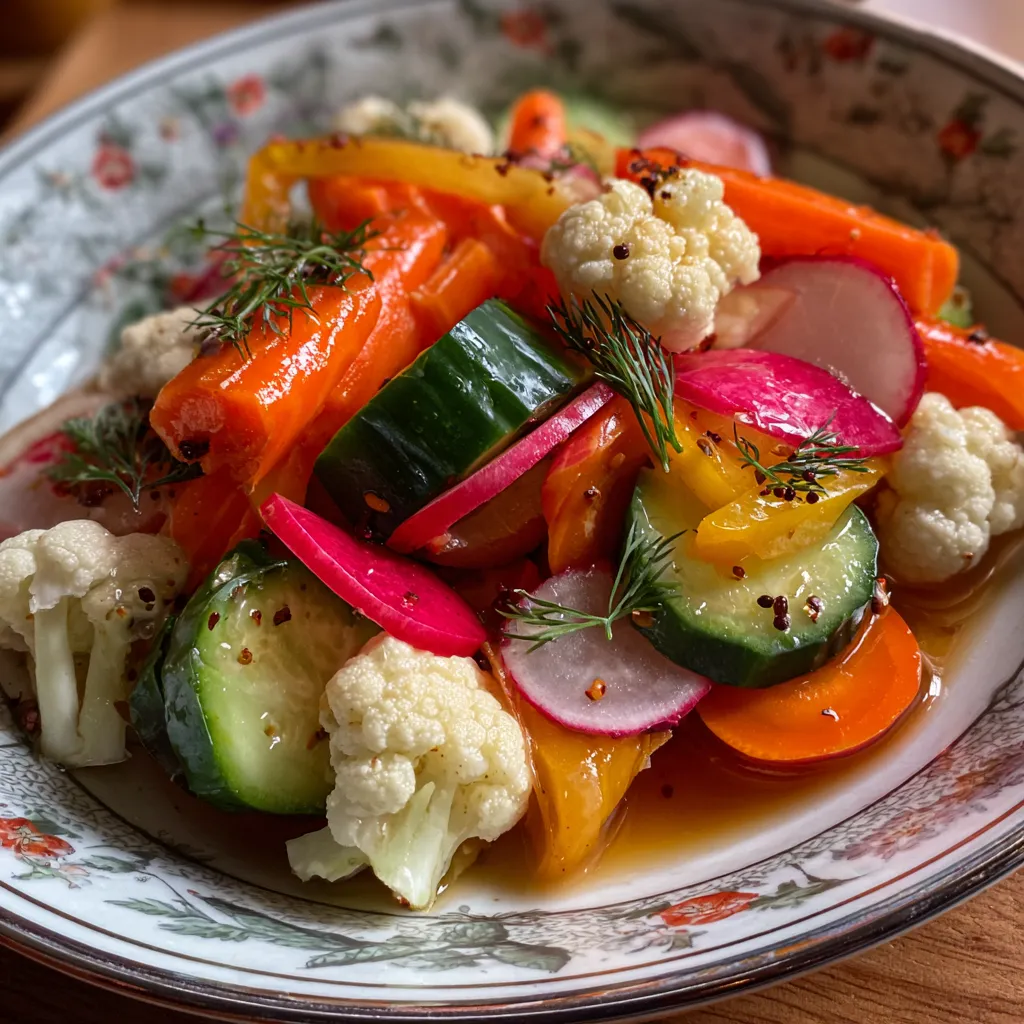
Crunchy Tangy Refrigerator Pickled Vegetables deliver a satisfying snap as vibrant veggies soak in a zesty, garlicky brine spiced with mustard seeds, coriander, garlic, and fresh dill. Perfect for lunchboxes, charcuterie boards, or jazzing up sandwiches, this beginner-friendly recipe transforms carrots, cucumbers, and cauliflower into crisp, tangy bites in just 24 hours—no special canning gear required. Dive in to experience bright flavor and addictive crunch with minimal effort!
Before you start, gather these fresh vegetables, pickling liquid, and spices to build layers of flavor and crunch.
Turning raw vegetables into crisp, tangy pickles is a breeze with this method. You’ll prep fresh veggies, simmer a simple brine, layer in spices, and let the flavors meld in the fridge. In about 20 minutes of active work, you’ll have a jar full of colorful, zesty pickles that deepen in flavor over time. Just follow these steps, and you’ll be rewarded with crunchy snacks in a day—or even better after a few days of chilling.
1. Wash and slice all vegetables into uniform pieces. Aim for roughly ¼-inch thickness so each slice pickles evenly and stays crisp.
2. Pack the vegetables tightly into a clean 1-quart jar. Layer carrots, cucumbers, cauliflower, radishes, peppers, and onions to maximize space.
3. In a small saucepan, combine water, vinegar, sugar, and salt and bring to a simmer, stirring until fully dissolved. Avoid a rolling boil to keep the brine clear.
4. Add peppercorns, mustard seeds, coriander seeds, smashed garlic, and dill sprigs into the jar with vegetables. Distribute spices evenly for balanced flavor.
5. Pour the hot brine over the vegetables, ensuring they are fully submerged. Leave about ½-inch headspace at the top of the jar.
6. Let the jar cool to room temperature, then seal with a lid and refrigerate. Cooling first prevents condensation inside the jar.
7. Allow the pickles to rest at least 24 hours before serving for optimal crunch and flavor. For best results, wait 2–3 days and enjoy the deepened tang.
Once your pickles reach peak tangy crunch, they become a versatile condiment and snack. Here are four creative ways to enjoy them:
Nailing that ideal crunch and flavor balance is all about simple techniques and timing. Start with uniform cuts so each veggie pickles at the same rate, and be patient: the longer they sit (up to three days), the deeper the flavors meld. If you prefer a gentler tang, swap in apple cider vinegar for a hint of sweetness. And remember, these pickles are happiest—and crunchiest—when kept chilled and enjoyed within a couple of weeks. Here’s a quick recap of pro tips:
Proper storage ensures your pickles stay crisp, flavorful, and safe to enjoy over time. Refrigeration is key to preserving that vibrant crunch and zesty tang without traditional canning.
Here are quick answers to common queries about these refrigerator pickles:
Prep time is about 20–25 minutes, which includes washing and uniformly slicing the vegetables, packing them into the jar, and simmering the brine. Cooling and refrigeration begin immediately after, but you’ll need to wait at least 24 hours before serving.
While the pickles are technically edible after 24 hours, the flavors really deepen after 2–3 days in the fridge. The texture remains crisp, and the spices meld more fully into the vegetables over that period.
Yes. Substituting apple cider vinegar creates a milder, slightly sweeter brine. You can reduce sugar by up to 1 tablespoon for a less sweet pickle or adjust salt by 1 teaspoon for a lower-sodium version. Just ensure the total volume of brine stays the same so the vegetables remain fully submerged.
The jar should be very clean but doesn’t require a canning-style sterilization since these are refrigerator pickles. Wash the jar and lid thoroughly with hot, soapy water, rinse well, and let air-dry or pat dry with a clean towel before packing in the vegetables.
Store the sealed jar in the fridge and consume within two weeks for peak freshness and crunch. After that, the vegetables may soften further, and the flavor will continue to intensify but could become too sour or limp.
It’s not recommended. The first batch extracts flavor and color from the spices and vegetables, so a second batch will be weaker and less vibrant. It’s best to make a fresh brine each time for consistent results.
You can swap in green beans, broccoli florets, or even small cauliflower stalks. Spice-wise, try adding a few red pepper flakes for heat, fennel seeds for an anise note, or a cinnamon stick for warmth—just keep the total spice volume around 3 teaspoons to maintain balance.
Uniform, relatively thick slices (around ¼-inch) help them retain crunch. Be sure to pack them tightly so they don’t float above the brine, and avoid overcooking the brine—bring it just to a simmer and dissolve the sugar and salt without boiling vigorously.
This recipe nails the perfect marriage of bright colors, bold spices, and that irresistible crunch we all crave. It works because the balanced brine—equal parts vinegar and water with a pinch of sugar and salt—penetrates every veggie piece, while whole spices and fresh dill layer in aromatic complexity. No hot-water bath or pressure canner required: just a clean jar and 24 hours in the fridge for vibrant, zesty pickles you’ll want to print, save, and revisit again and again. Have questions or feedback after trying it? Drop a comment below—I’m here to help you get that crunch just right!
Experience the satisfying snap of cucumbers, carrots, and cauliflower as they steep in a tangy vinegar brine spiced with mustard seeds, coriander, garlic, and fresh dill.

Hey there ! I'm Julia Martinez, and welcome to my kitchen where tradition meets innovation. Growing up in a multigenerational household, I learned that the best recipes aren't just about ingredients – they're about the stories, memories, and love that get passed down through each carefully prepared dish.