
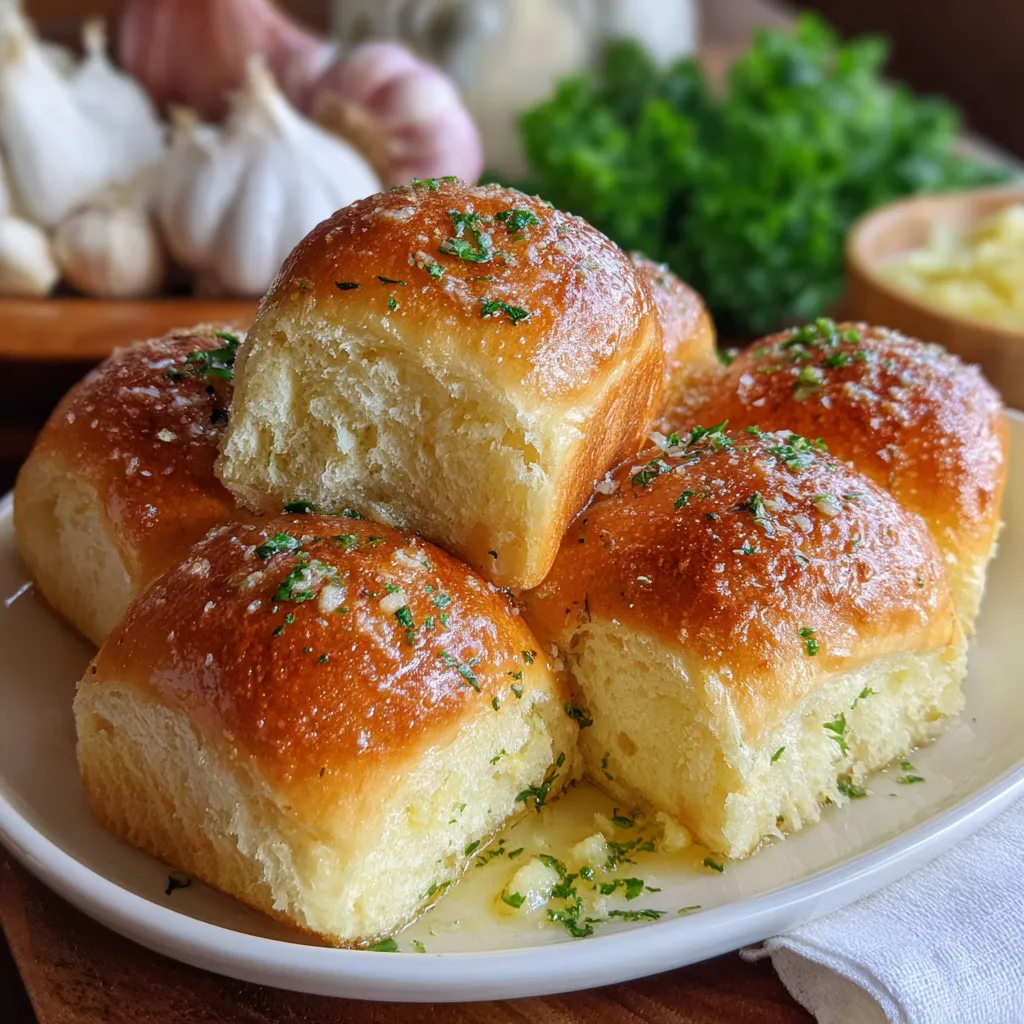
There’s something irresistibly cozy about pulling a batch of warm, garlic-kissed bread rolls from the oven and knowing you made them yourself. These soft, herby bites start with a simple dough that rises to golden perfection, then get drenched in garlicky butter and parsley. Whether you’re serving them for breakfast, alongside soup, or as a snack, these rolls are guaranteed to win over family and friends—and fill your kitchen with pure comfort.
Before you dive in, let’s gather everything you need for these melt-in-your-mouth garlic butter rolls:
Ready to roll up your sleeves and stir up some magic? This recipe takes you through proofing the yeast, kneading a silky dough, and brushing on an aromatic garlic butter finish. Each step builds on the last to ensure your rolls are tender inside with a golden, flavorful crust.
1. In a small bowl, combine the warm milk (110°F to 115°F) with the sugar, then sprinkle the yeast evenly over the surface. Allow it to sit for 5 to 10 minutes until the mixture becomes frothy, indicating the yeast is active.
2. In a large mixing bowl, whisk together the flour and salt. Create a well in the center, then pour in the yeast mixture, melted butter, and the egg.
3. Stir until a shaggy dough forms, then turn it onto a lightly floured surface. Knead for 8 to 10 minutes, working until the dough is smooth, elastic, and slightly tacky.
4. Place the dough in a greased bowl, turning once to coat. Cover with a damp cloth and let it rise in a warm spot for about 1 hour, or until it has doubled in size.
5. Gently punch down the dough to release the air. Divide into 12 equal pieces and shape each piece into a tight ball.
6. Arrange the dough balls in a greased baking dish or on a lined sheet, leaving space between them. Cover again and let rise for 30 minutes until puffy.
7. Preheat your oven to 375°F (190°C). While waiting, whip up the garlic butter by combining the softened butter, minced garlic, chopped parsley, and garlic powder in a bowl.
8. After the second rise, brush each roll generously with the garlic butter mixture, ensuring every top is slathered.
9. Bake for 15–20 minutes until the rolls are golden brown. Remove from the oven and, if you like, brush with any remaining garlic butter for extra gloss.
10. Let the rolls cool slightly before serving. Enjoy them warm, pulling them apart to reveal tender, buttery layers.
These garlic butter rolls are the perfect sidekick for nearly any meal or snack. Their soft texture and savory topping invite you to get creative at the table:
To get the fluffiest, most flavorful rolls, pay attention to temperature and timing. Warm milk that’s too hot can kill your yeast, while a quick first and second rise builds those airy pockets we all love. Here are a few friendly pointers to keep you on track:
Got leftovers? These garlic butter rolls hold up beautifully when stored properly—just follow these simple methods to maintain that fresh-baked taste:
Here are answers to common questions about making your best-ever garlic butter bread rolls:
A: Use warm milk (110°F to 115°F) to activate the active dry yeast without killing it. Whole milk or 2% milk works best for a richer dough, but you can use skim milk if needed. The temperature range ensures the yeast foams up in 5 to 10 minutes, indicating it’s ready.
A: You can replace up to half of the all-purpose flour with whole wheat flour for added fiber, but the dough may require slightly more liquid. Add water or milk a tablespoon at a time until the dough becomes smooth and elastic. Avoid using exclusively whole wheat flour, as it can make the rolls dense.
A: Knead on a floured surface for 8 to 10 minutes until the dough is smooth, elastic, and slightly tacky but not sticky. A well-kneaded dough will pass the windowpane test: stretch a small piece until it’s thin and translucent without tearing.
A: The first rise allows the yeast to ferment and develop flavor, taking about 1 hour in a warm place until the dough doubles in size. The second rise, after shaping into balls, takes about 30 minutes to ensure the rolls are light and airy. Skipping either rise can lead to dense rolls.
A: Yes. After baking and cooling, place the rolls in an airtight container or freezer bag. Freeze for up to 3 months. To reheat, bake at 350°F for about 10 minutes or until warmed through, brushing with extra garlic butter if desired.
A: Use softened unsalted butter mixed gently with minced garlic, parsley, and optional garlic powder. Brushing it over the rolls right before baking ensures even coverage. If your oven runs hot, tent the rolls loosely with foil after 10 minutes of baking to prevent the garlic butter from burning.
A: Stir grated Parmesan cheese into the garlic butter for a cheesy twist. You can also experiment with fresh herbs like rosemary, thyme, or basil. For a spicy kick, add a pinch of red pepper flakes to the garlic butter.
A: Store cooled rolls in an airtight container or resealable plastic bag at room temperature for up to 2 days. To refresh, warm them in a 350°F oven for 5–7 minutes, brushing with additional garlic butter if you like.
This recipe shines because it transforms simple pantry staples into an unforgettable, flavor-packed experience. Between the rich, buttery dough and that final brush of garlic-parsley goodness, every bite feels like a mini celebration. The two-stage rise guarantees light, fluffy rolls, while options like Parmesan or rosemary let you customize to your taste. Go ahead and print this out or bookmark it—these rolls are destined to become your new go-to for cozy breakfasts, dinner sides, or anytime comfort. Have a question, a tip of your own, or a funny roll story? Drop a comment below and let’s keep the conversation (and the crumbs) going!
Soft dough rises to golden perfection, then drenched in garlicky butter and parsley, filling your kitchen with irresistible aroma and delivering a tender, savory bite.

Hey there ! I'm Julia Martinez, and welcome to my kitchen where tradition meets innovation. Growing up in a multigenerational household, I learned that the best recipes aren't just about ingredients – they're about the stories, memories, and love that get passed down through each carefully prepared dish.