
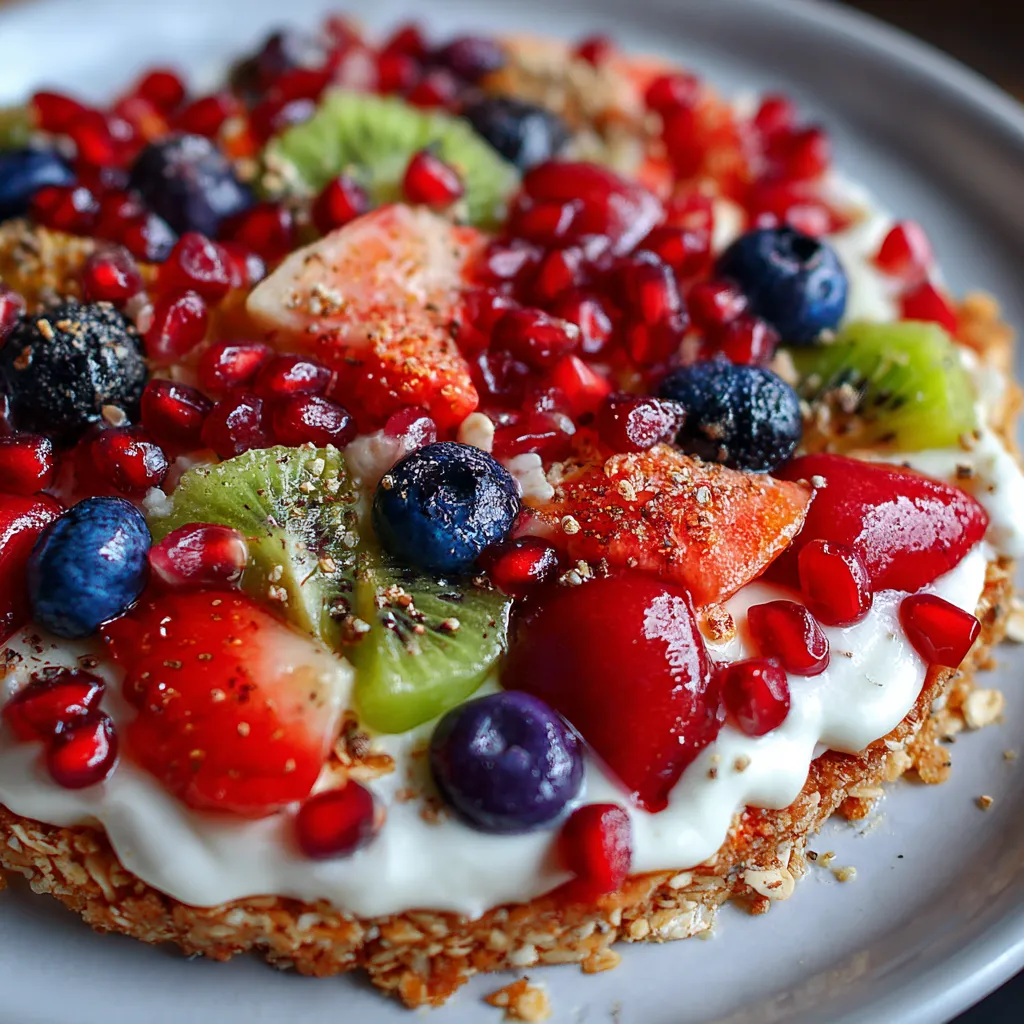
Who says dessert can’t be both indulgent and nutritious? With the Healthy No-Bake Creamy Fruit Pizza, you get a vibrant, creamy fruit pizza featuring a crunchy oat-chia crust, silky citrus yogurt base, and a rainbow of fresh berries. Crunch into a crisp, nutty crust before sinking into a velvety lemon-kissed Greek yogurt layer topped with juicy strawberries, tangy kiwi, plump blueberries, and jewel-like pomegranate seeds—so dive in and treat yourself today!
To whip up this fresh and wholesome treat, gather the following ingredients—each plays a key role in building a sturdy crust, a silky yogurt layer, and that colorful fruit topping.
Let’s dive into assembling this show-stopping dessert in just a few easy stages. From crafting the sturdy oat-chia crust to layering on that dreamy citrus-kissed yogurt and finally decorating with fresh fruit jewels, each step is a breeze—and you don’t even need an oven! Follow along, and you’ll have a stunning, no-bake pizza ready to chill and impress.
1. In a medium bowl, combine rolled oats, almond flour, chia seeds, honey, melted coconut oil, and vanilla extract: mix vigorously until the mixture sticks together and forms a slightly damp sandy texture.
2. Press the mixture firmly into the bottom of a 9-inch springform pan, using the back of a spoon or a flat measuring cup to create an even crust layer about ¼ inch thick.
3. Refrigerate the crust for at least 30 minutes so it sets firm and holds its shape once sliced.
4. In a separate bowl, whisk together plain Greek yogurt, honey, and lemon juice until totally smooth and creamy, making sure no lumps remain.
5. Spread the yogurt mixture evenly over the chilled crust, smoothing the surface with a spatula to cover every corner.
6. Arrange the sliced strawberries, blueberries, kiwi, and pomegranate seeds on top of the yogurt in a fun pattern or rainbow formation for a colorful finish.
7. Chill the assembled fruit pizza in the refrigerator for at least 1 hour so flavors meld and the topping sets nicely.
8. Slice into wedges with a sharp knife and enjoy immediately to maintain that perfect creamy-yet-crisp texture.
Serving this Healthy No-Bake Creamy Fruit Pizza is an absolute breeze, and its vibrant colors make it a star at any gathering. Whether you’re hosting a summer brunch, packing a sweet treat for a picnic, or simply craving something light after dinner, these simple ideas will take your presentation—and flavor—to the next level in just minutes.
With just a few simple pointers, your fruit pizza experience will go from great to absolutely foolproof. These friendly tips help you nail the ideal crust consistency, keep your yogurt layer silky smooth, and let you swap in fun variations without breaking a sweat. Read on to become the fruit-pizza pro in your kitchen!
Storing your Healthy No-Bake Creamy Fruit Pizza correctly ensures every bite stays as fresh and flavorful as the first slice. Whether you’re planning ahead for a gathering or looking to save leftovers, these simple storage methods will keep your crust crisp, yogurt creamy, and fruit toppings bright.
Got questions? Here are some quick answers to help you master this fun and healthy dessert!
The active preparation time is about 15 minutes to mix the crust ingredients, press into the pan, and whisk the yogurt topping. You’ll then need to chill the crust for at least 30 minutes and the assembled pizza for another hour, so plan on about 1 hour and 45 minutes total from start to ready-to-serve.
Make sure the coconut oil is fully melted and the honey is warm enough to coat the dry ingredients evenly. Press the oat mixture very firmly into the springform pan with the back of a spoon or a flat measuring cup, smoothing the edges. Chilling the crust for at least 30 minutes helps it set solid before adding the yogurt layer.
Yes. You can replace honey with an equal amount of maple syrup or agave nectar if you prefer a vegan option. Almond flour can be swapped for oat flour or finely ground walnuts. For a dairy-free version, use a plant-based yogurt such as coconut or almond yogurt, adjusting the lemon juice and sweetener to taste.
Cover the fruit pizza tightly with plastic wrap or store it in an airtight container in the refrigerator. It will stay fresh for up to 2 days. After that, the crust may soften and the fruit juices can make the yogurt topping slightly watery.
Yes. You can make the crust up to one day ahead—press it into the pan, cover, and refrigerate. Whisk the yogurt mixture and slice your fruits just before assembly to keep them fresh and vibrant. Assemble everything and chill for at least an hour before serving.
Ensure the crust is well chilled and firm before spreading the yogurt layer. Pat any extra moisture off the sliced fruits with a paper towel and arrange them gently to avoid pressing juices into the yogurt. Serve within two hours of assembly for the best texture.
You can use any 9-inch tart pan or a removable-bottom quiche pan for easy removal. If you only have a standard pie plate, line it with parchment paper with an overhang to lift the pizza out after chilling. Just press the crust into the plate and proceed as directed.
From the satisfying crunch of the hearty oat-chia crust to the zesty creaminess of the lemon-kissed Greek yogurt and the rainbow of fresh fruit on top, this Healthy No-Bake Creamy Fruit Pizza combines flavor, texture, and nutrition in every slice. No oven fuss, tons of customization, and a gorgeous presentation make it a winner for beginners and seasoned home cooks alike. Feel free to print this article and save it as your go-to guide—then come back and let me know how it turned out or if you have any fun twists you tried! Your feedback and questions always brighten my day.
Crunch into a crisp, nutty crust before sinking into a velvety lemon-kissed Greek yogurt layer topped with juicy strawberries, tangy kiwi, plump blueberries, and jewel-like pomegranate seeds.

Hey there ! I'm Julia Martinez, and welcome to my kitchen where tradition meets innovation. Growing up in a multigenerational household, I learned that the best recipes aren't just about ingredients – they're about the stories, memories, and love that get passed down through each carefully prepared dish.