
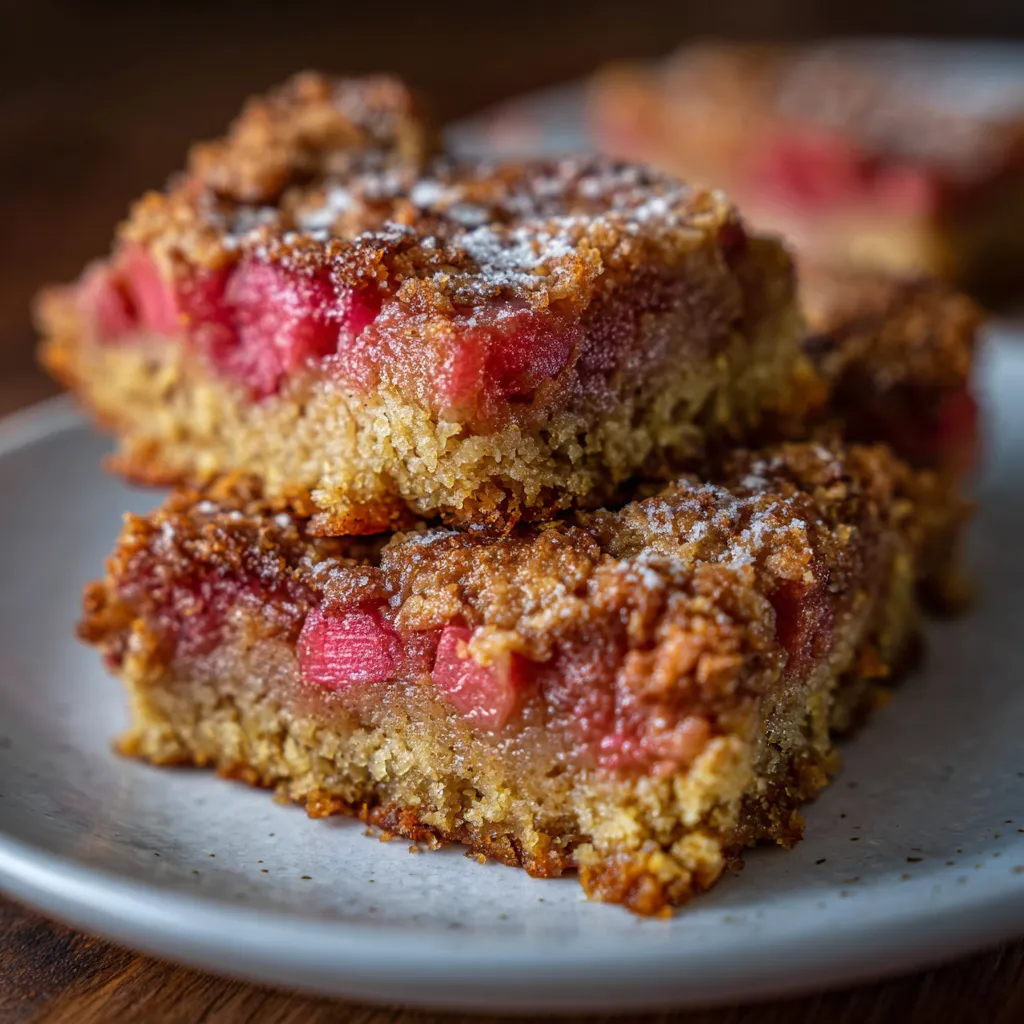
Dive into Healthy Paleo Rhubarb Bars, where bright pink rhubarb jam meets a nutty almond-coconut crust in a gluten-free, paleo-friendly treat. Tangy rhubarb pieces nestle beneath a golden crumble, oozing juicy sweetness in every bite. The simple, wholesome ingredients come together in a breeze, delivering a satisfying crunch that contrasts with the tender, fruity center. Whether you’re baking for a special occasion or craving a healthy dessert fix, these bars will become your new go-to treat!
Let’s take a look at what goes into these Healthy Paleo Rhubarb Bars: simple, wholesome ingredients that pack flavor and nutrition!
Ready to bake? These Healthy Paleo Rhubarb Bars come together with a simple, two-layer approach - an almond-coconut crust topped with tangy, jammy rhubarb and a crumbly finish. Follow these steps to build each layer, bake until golden, and chill to set. The process is straightforward and perfect for intermediate home bakers looking to impress with a wholesome dessert.
1. Preheat the oven to 350°F (175°C) and line an 8x8-inch baking pan with parchment paper, leaving some overhang for easy removal.
2. In a medium bowl, whisk together almond flour, coconut flour, coconut sugar, salt, and ground cinnamon until fully combined and free of lumps.
3. Pour in the melted coconut oil, maple syrup, egg, and vanilla extract over the dry mixture, then stir with a spatula until a soft, cohesive dough forms.
4. Transfer about two-thirds of the dough into the prepared pan and press firmly into an even layer using your fingers or the back of a spoon to create a sturdy crust.
5. In a separate bowl, combine the chopped rhubarb, honey, arrowroot starch, and water, tossing until each piece is well coated and the starch is evenly distributed.
6. Spread the rhubarb mixture over the crust in a uniform layer, making sure to leave a little space at the edges for bubbling.
7. Crumble the remaining dough over the rhubarb filling by pinching it into small pieces and scattering them evenly to form the topping.
8. Bake for 25 to 30 minutes, or until the topping turns golden brown and the filling is visibly bubbling around the edges.
9. Remove the pan from the oven and let the bars cool completely on a wire rack, then transfer to the refrigerator and chill for at least 1 hour to set.
10. Use the parchment paper overhang to lift the bars out of the pan, place on a cutting board, slice into squares, and serve.
When it comes to serving these bars, the contrast between the crunchy crust and juicy rhubarb filling shines best with thoughtful pairings. Whether you’re hosting a brunch, packing a snack, or simply craving a sweet treat, these Healthy Paleo Rhubarb Bars adapt beautifully. A few extra touches can transform each bite—think creamy, cooling elements or vibrant garnishes that highlight the pink rhubarb and golden crumb. Here are some ideas to elevate your presentation and enjoyment.
Getting these bars just right is all about balancing crisp texture with tangy filling, and a few smart tweaks can make your batch shine every time. Before you pop them into the oven, give the crumble a quick dusting of coconut sugar to create caramelized highlights and boost the natural sweetness. After baking, don’t skip the chill time—an hour in the fridge helps the filling firm up so you’ll get clean, picture-perfect squares (and trust me, no one likes a floppy bar). If you’re planning ahead, these bars are a dream for make-ahead breakfasts or snacks and freeze beautifully for up to two months. And if rhubarb isn’t your go-to, just swap in strawberries or mixed berries for a delicious twist—your taste buds will thank you!
Proper storage keeps your Healthy Paleo Rhubarb Bars tasting fresh and bright. Whether you’re planning to enjoy them over the next few days or stock up for later, following a few simple steps will ensure each bite retains its texture and flavor. From refrigeration tips to freezer-friendly methods, here’s how to store these bars so they stay delicious and ready whenever you need a quick treat.
Here are answers to common questions that pop up when you’re making these Healthy Paleo Rhubarb Bars—quick and friendly!
From start to finish, you’re looking at about 10 minutes to gather and measure ingredients, 10 minutes to mix the dough and assemble the layers, 25 to 30 minutes to bake, and at least 1 hour of chilling time. In total, plan for roughly 2 hours, most of which is hands-off while the bars chill.
Yes, you can swap in strawberries, mixed berries, or even diced apples if you prefer. Berries work especially well because they release a similar amount of juice. If you choose juicier fruit, increase the arrowroot starch to 1½ tablespoons to ensure the filling sets firmly.
Press the bottom dough layer firmly and evenly into the pan so it bonds well. Make sure the rhubarb mixture is well coated in arrowroot starch before spreading it on the crust, and don’t overload the pan with extra liquid. Allowing the finished bars to cool completely and then chilling for at least an hour also helps the crust firm up.
Once cooled and chilled, transfer the rhubarb bars to an airtight container and refrigerate. They will stay fresh for up to 4 days. If you’d like to keep them longer, freeze the cut bars in a single layer on a baking sheet, then transfer to a freezer-safe bag for up to 2 months. Thaw overnight in the fridge before serving.
To make a vegan version, replace the egg with a flax or chia egg (1 tablespoon flax or chia seeds + 3 tablespoons water, whipped and set for 5 minutes). Swap the honey for an equal amount of maple syrup or agave nectar, and ensure your coconut sugar is certified vegan. The texture will be slightly softer but still delicious.
The bars are done when the top is a light golden brown and you see the rhubarb filling bubbling around the edges. The crumbled topping should feel firm to the touch. If you gently shake the pan, the filling should jiggle slightly but not slosh. Any longer baking may darken the crust too much.
Yes, you can mix the dry ingredients and store them in an airtight container in the fridge for up to 24 hours. You can also whisk together the wet ingredients ahead of time. Assemble and bake the bars the next day, then chill before serving. Fully baked bars can be frozen for up to 2 months and thawed when needed.
These Healthy Paleo Rhubarb Bars hit all the sweet spots: a vibrant, tangy fruit filling, a golden nutty crust, and a crumbly topping that’s just begging to be devoured. The combination of almond and coconut flours keeps the bars gluten-free and paleo-friendly without sacrificing flavor or texture, while simple pantry staples come together for a home-baked treat you can feel great about. Feel free to print or save this recipe for later—your future self will thank you! And if you give it a spin, drop a comment below or share your twist on these bars; I love hearing how they turn out in your kitchen.
Tangy rhubarb pieces nestle beneath a golden almond-coconut crust, oozing juicy sweetness with every bite. The crumbly top adds a comforting crunch that contrasts with the tender, fruity center.

Hey there ! I'm Julia Martinez, and welcome to my kitchen where tradition meets innovation. Growing up in a multigenerational household, I learned that the best recipes aren't just about ingredients – they're about the stories, memories, and love that get passed down through each carefully prepared dish.