
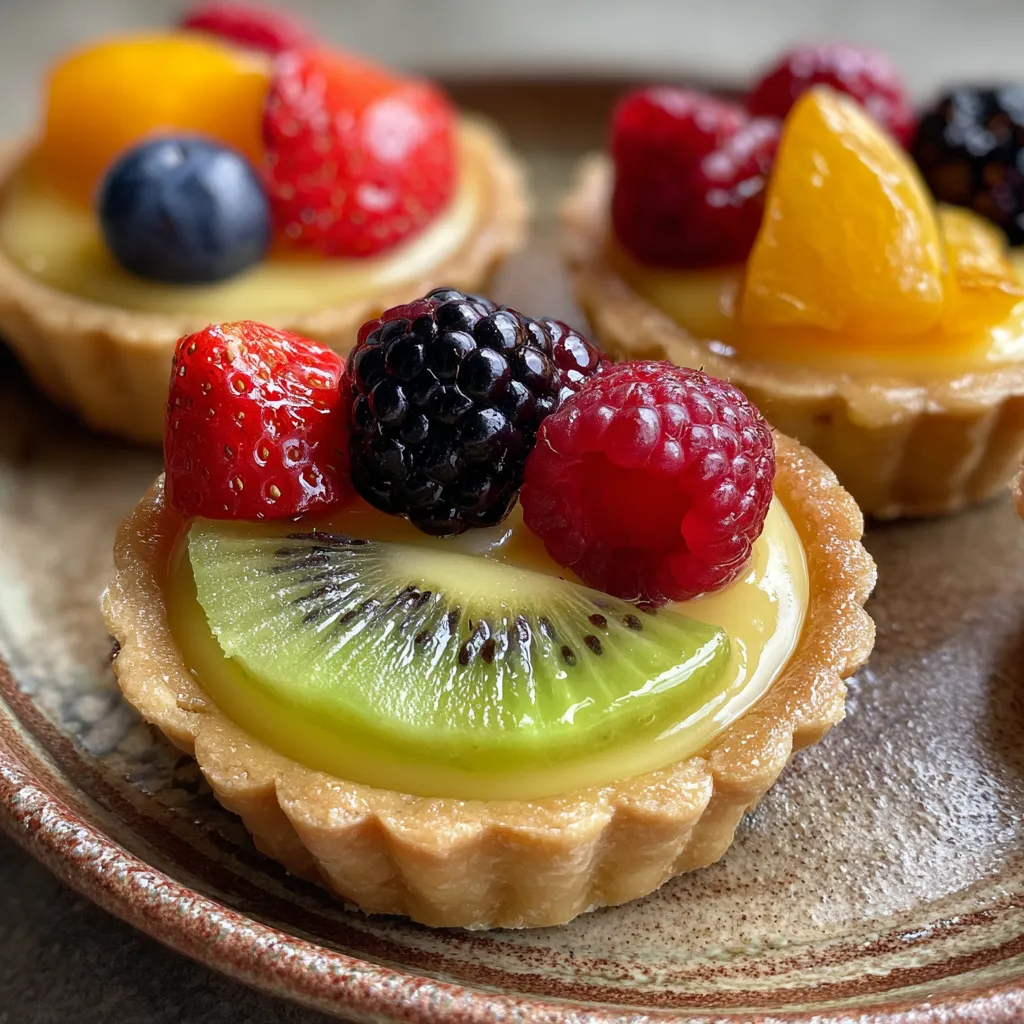
Mini Fruit Tarts with Vanilla Custard deliver a bite-sized burst of summer sweetness, featuring crisp buttery shells, velvety vanilla custard, and jewel-like berries, kiwi, and mango. These tartlets shine under a glossy apricot glaze that locks in freshness and flavor, making them perfect for parties or a sweet afternoon treat. Whether you’re a pastry pro or an enthusiastic beginner, you’ll have a blast rolling dough, whipping up custard, and arranging colorful fruit crowns. Get ready to impress your guests—and yourself—with these charming, refreshing desserts!
Before we dive into the kitchen, let’s gather everything you need to create these delightful tarts.
Let’s walk through the steps to craft these adorable tartlets. You’ll start by preparing and baking a flaky crust, then whip up a smooth custard on the stovetop, and finally assemble with fresh fruit and a shiny glaze. Read through the process first, then follow the detailed numbered steps below to get those perfect little pastries.
1. Preheat oven to 350°F and lightly grease a mini tart pan to ensure the shells release easily.
2. In a bowl, whisk together flour, sugar, and salt for the crust until evenly combined.
3. Cut cold butter into the dry ingredients using a pastry cutter or your fingertips until the mixture resembles coarse crumbs.
4. Stir in the egg yolk and cold water until a dough forms, then wrap and chill for 20 minutes to firm up the butter.
5. Roll out the dough on a lightly floured surface to about 1/8-inch thickness, then press into tart pan cavities for uniform shells.
6. Bake shells for 12–15 minutes until golden at the edges, then remove and cool completely on a wire rack.
7. In a saucepan, whisk together milk, sugar, cornstarch, and salt over medium heat, stirring constantly to prevent lumps.
8. In a separate bowl, beat the egg yolks and slowly temper with a few spoonfuls of the hot milk mixture to avoid scrambling.
9. Return the tempered yolks to the pan and cook, stirring constantly, until the custard thickens and coats the back of a spoon.
10. Remove from heat and stir in butter and vanilla extract, mixing until smooth, then let the custard cool slightly.
11. Spoon custard into each cooled tart shell and smooth the tops with the back of a spoon.
12. Arrange fruit by topping each tart with a mix of berries, kiwi slices, and mango strips for a vibrant finish.
13. In a small saucepan, warm apricot jam with water over low heat until runny, then brush gently over the fruit for shine.
14. Chill tarts for 30 minutes in the fridge before serving to set the custard and glaze.
These mini tarts are as versatile as they are beautiful—perfect for enjoying solo or as part of a dessert spread. Whether you’re hosting a brunch or simply craving something sweet, these tips will make each bite extra special.
These tarts are wonderfully forgiving, but a few friendly pointers will elevate your results every time. Whether you’re prepping ahead or customizing flavors, these insights help you streamline the process and nail that picture-perfect finish.
Wondering how to keep these bite-sized delights at their best? Proper storage ensures your tart shells stay crisp and the custard stays creamy, even if you prepare components in advance.
Here are quick answers to common questions so you can bake with confidence:
From start to finish, plan for about 1 hour and 15 minutes. That includes 20 minutes chilling time for the crust dough, 12–15 minutes baking the shells, 10–15 minutes preparing and cooking the custard, 5–10 minutes assembling with fruit and glaze, plus a 30-minute chilling period before serving.
Yes. The dough can be made up to two days ahead and stored in the refrigerator. For the custard, once it’s cooked and cooled slightly, press plastic wrap directly onto its surface and refrigerate for up to two days. Rewarm gently or use it cold when assembling.
Immediately after cooking and stirring until thickened, transfer the custard to a bowl and press a layer of plastic wrap directly onto its surface. This barrier prevents air from touching the custard and forming a skin as it cools.
Berries such as strawberries, blueberries, raspberries, and blackberries plus sliced kiwi and mango are ideal. Feel free to swap in peaches, grapes, or stone fruits when in season. Choose firm, ripe fruit that holds shape when sliced and arranges nicely on the custard.
Warm 2 tablespoons of apricot jam with 1 teaspoon of water over low heat until smooth and runny. Use a pastry brush to gently coat the fruit with a thin layer. The warm glaze creates shine and seals in moisture, helping the fruit stay fresh for hours.
Store assembled tarts in an airtight container in the refrigerator for up to 2 days. Keep them chilled and avoid stacking to preserve the fruit arrangement and prevent the crust from becoming soggy.
It’s not recommended to freeze fully assembled tarts, as the crust can lose crispness and the fruit may release water when defrosted. You can freeze baked tart shells for up to one month. Thaw shells at room temperature, then fill with freshly made custard and fruit just before serving.
These mini gems stand out because they combine a buttery, flaky crust with a silky-smooth vanilla custard and a colorful medley of fresh fruit—all finished with a glossy apricot glaze that locks in flavor. They’re fun to assemble, endlessly customizable with seasonal produce, and perfect for any occasion when you want to impress without stress. Go ahead and print this guide so you can recreate the magic time and again, and let me know in the comments how your tarts turned out or if you have questions along the way!
Golden pastry cases hold velvety vanilla custard, topped with vibrant berries, kiwi, and mango. A glossy apricot glaze ties it all together, creating a refreshing, bite-sized treat perfect for any gathering.

Hey there ! I'm Julia Martinez, and welcome to my kitchen where tradition meets innovation. Growing up in a multigenerational household, I learned that the best recipes aren't just about ingredients – they're about the stories, memories, and love that get passed down through each carefully prepared dish.