
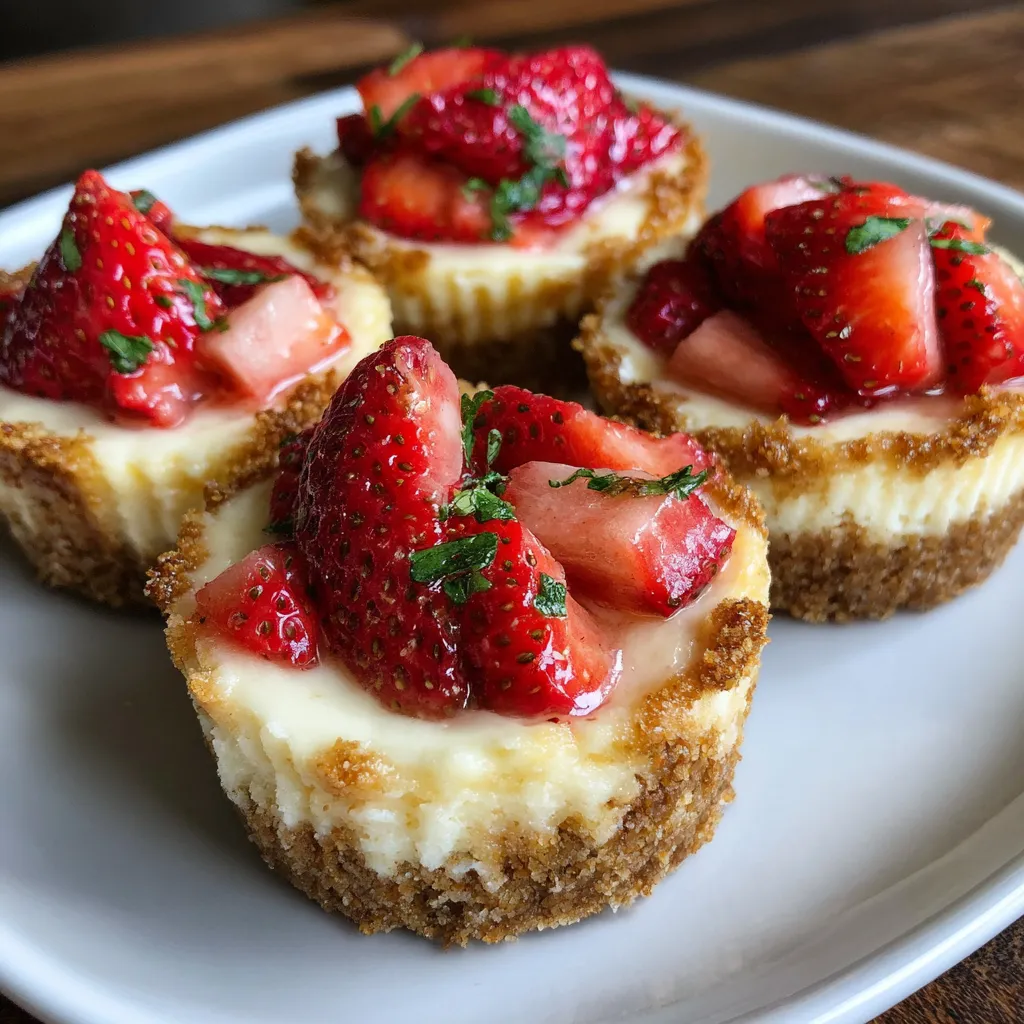
Mini Strawberry Cheesecake Cups deliver adorable individual desserts that are as delicious as they are beautiful. These tiny cups of velvety cheesecake nestled on a buttery graham crust showcase creamy cheesecake filling that transforms simple cups into elegant minis, while bright, lemon-kissed strawberry gems add a burst of fresh color and flavor. Whether you're hosting a party or craving a sweet treat, you'll find these beginner-friendly no-bake delights impossible to resist.
Before you dive in, let's gather all the goodies for these Mini Strawberry Cheesecake Cups:
Creating these mini cheesecakes is a joy from start to finish. You’ll build a sturdy graham cracker crust, whip a silky-smooth filling, and finish with vibrant, macerated strawberries. Follow each step carefully to ensure your cups set perfectly and burst with balanced sweetness and tang in every bite.
1. Line a 12-cup muffin tin with paper liners or silicone cups, ensuring each is centered and smooth.
2. In a medium bowl, combine the graham cracker crumbs, 2 tablespoons sugar, and melted butter, mixing until the crumbs hold together when pressed.
3. Press about 1 tablespoon of the crumb mixture into the bottom of each liner, using the back of a spoon to form an even compact crust.
4. Chill the crusts in the refrigerator for at least 10 minutes to firm up while you prepare the filling.
5. In a large bowl, beat the cream cheese, 1/3 cup sugar, and vanilla extract on medium speed until completely smooth and creamy.
6. Slowly pour in the heavy cream and continue beating until the mixture becomes light, fluffy, and holds soft peaks.
7. Spoon or pipe the cream cheese filling over each chilled crust, filling almost to the top for a nice over-the-top look.
8. Return the filled cups to the refrigerator and chill for at least 2 hours or until fully set.
9. In a small bowl, toss the diced strawberries with 1 tablespoon sugar and lemon juice, letting them macerate for 10 minutes until juicy.
10. Top each cheesecake cup with a spoonful of the macerated strawberries just before serving for maximum freshness.
These Mini Strawberry Cheesecake Cups are as versatile as they are delicious. Whether you’re looking to impress at a dinner party or simply elevate family dessert night, these individual portions shine in every setting. The combination of creamy cheesecake and vibrant strawberry topping pairs beautifully with a variety of accompaniments and presentations. Here are a few fun ideas to make your servings unforgettable:
A few simple tricks elevate these mini cheesecakes from great to spectacular. Softening cream cheese fully prevents lumps, and swapping out graham crumbs offers tasty variation. A quick freeze can save time, while overnight chilling gives extra firmness. With these insights, your cheesecake cups will always turn out flawlessly, ready to wow friends and family.
Proper storage ensures that these Mini Strawberry Cheesecake Cups stay as delightful days after you first make them as when they came out of the fridge. With simple tips, you can maintain that tender crust, creamy filling, and fresh-tasting strawberry topping without any sogginess or flavor loss. Whether you’re planning ahead or dealing with leftovers, follow these guidelines to keep each cup tasting its best.
Here are some common questions you might have about these adorable mini treats:
A: It takes about 20 minutes to prepare the crust and filling—this includes lining the muffin tin, mixing and pressing the crumb crust, and beating the cream cheese mixture—followed by at least 2 hours of chilling time for the cups to set, for a total of approximately 2 hours and 20 minutes. If you choose to chill overnight for a firmer texture, plan for up to 12 hours of chilling.
A: Yes. You can swap the graham cracker crumbs with an equal amount of crushed vanilla wafers or finely ground chocolate cookies. Follow the same ratio of 1½ cups crumbs, 2 tablespoons sugar, and 4 tablespoons melted butter, pressing the mixture firmly into each cup before chilling.
A: Make sure your cream cheese is fully softened to room temperature before you begin. Beat the cream cheese, sugar, and vanilla extract on medium speed until completely smooth before adding the heavy cream. When you gradually pour in the cream, continue beating until the mixture is light and fluffy—pausing to scrape down the bowl ensures no lumps remain.
A: If you’re short on time, freeze the filled cups (without topping) for about 30 minutes to help them set more quickly, then add the strawberry topping just before serving. If preparing in advance, refrigerate the filled cups overnight for a firmer texture. Always wait to add the macerated strawberries until just before serving to keep the crust crisp.
A: Store any leftovers in an airtight container in the refrigerator for up to 3 days. Keep the strawberry topping in a separate container if possible and add it just before serving to prevent the crust from becoming soggy.
A: Use sturdy paper liners or silicone cups to support the crust. Press the crumb mixture firmly and evenly into the bottom of each cup, then chill the crusts for at least 10–15 minutes before adding the filling. This initial chill helps the butter solidify and lock the crumbs together, reducing the chance of the crust collapsing.
These Mini Strawberry Cheesecake Cups hit the sweet spot between adorable presentation and irresistible flavor. The balance of buttery graham crust, silky cream cheese filling, and vibrant lemon-kissed strawberries works every time, making them perfect for last-minute parties or indulgent personal treats. They’re a no-bake dream for beginners and seasoned cooks alike, offering a little handheld dessert that feels fancy without fuss. Feel free to print out this recipe and tuck it into your favorite binder for whenever you need a quick festive dessert. I can’t wait to hear what you think—drop a comment below if you try them or have any questions, and let’s chat sweets!
Creamy cheesecake filling transforms simple cups into elegant minis, while sweet, citrusy strawberries add a burst of fresh color and flavor.

Hey there ! I'm Julia Martinez, and welcome to my kitchen where tradition meets innovation. Growing up in a multigenerational household, I learned that the best recipes aren't just about ingredients – they're about the stories, memories, and love that get passed down through each carefully prepared dish.