
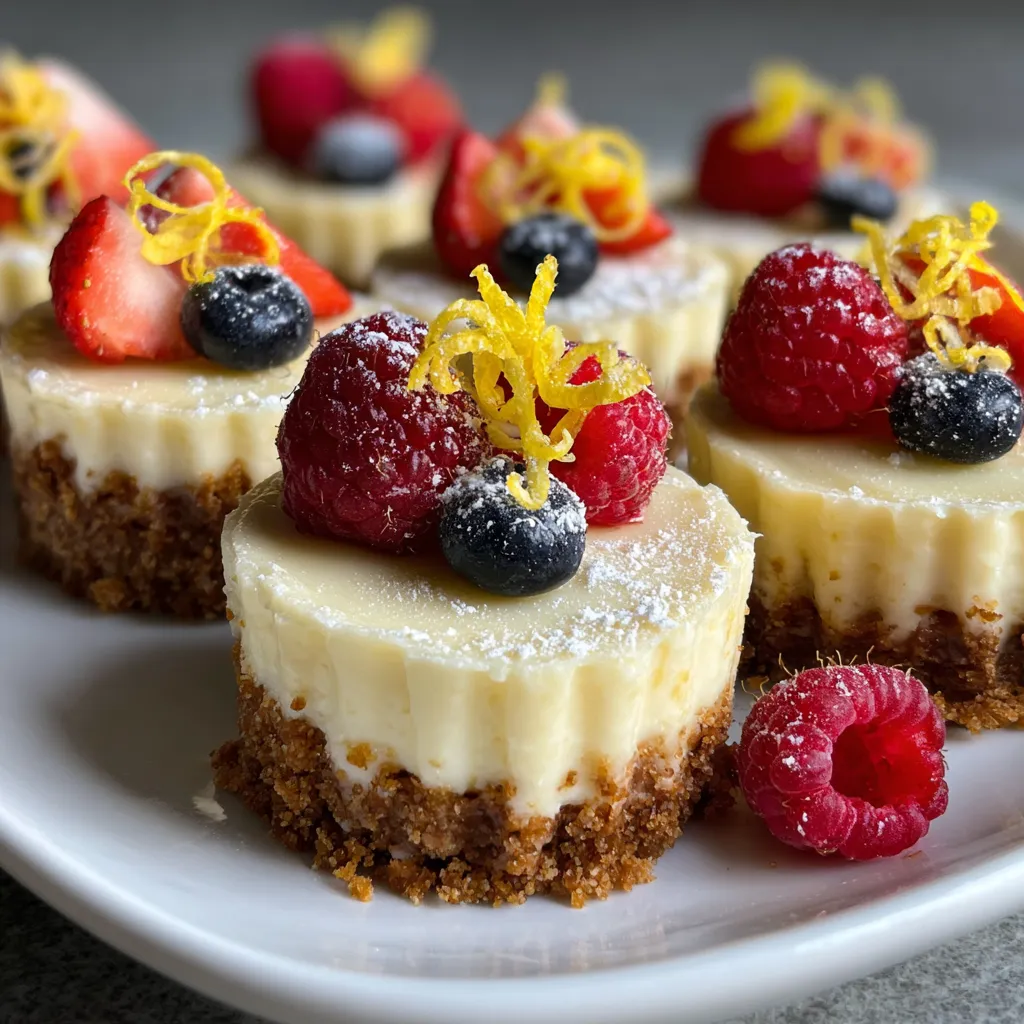
No Bake Mini Lemon Cheesecake Cups pack a punch of zesty brightness and velvety sweetness in every bite. Tiny cups brimming with creamy lemon cheesecake on a buttery graham crust, finished with a burst of fresh berries in every spoonful, make this an effortless dessert that feels fancy but couldn’t be simpler. No oven required—just mix, chill, and garnish for a crowd-pleasing treat that brightens any gathering. Ready to dive in?
Before diving into these No Bake Mini Lemon Cheesecake Cups, let’s gather what you need to create that perfect balance of tart and sweet.
Creating these mini delights is all about layering textures and flavors with minimal effort. You’ll start by crafting a simple graham cracker crust, then whip up a light, tangy lemon filling, and finally let it all chill until perfectly set. Follow these detailed steps to ensure each cup is creamy, zesty, and picture-perfect.
1. In a small bowl combine graham cracker crumbs, granulated sugar, and melted butter until the mixture resembles wet sand, ensuring it holds together when pressed.
2. Divide the crumb mixture evenly among 6 to 8 small cups or jars, pressing down firmly with the back of a spoon or a small glass to form a compact crust layer.
3. In a medium bowl beat the softened cream cheese and powdered sugar on medium speed until completely smooth and creamy, scraping down the sides as needed.
4. In a separate bowl whip the heavy cream on high speed until stiff peaks form, then gently fold it into the cream cheese mixture to keep the filling light and airy.
5. Add fresh lemon juice and lemon zest to the cheesecake filling and stir until every bit of tangy goodness is fully incorporated.
6. Spoon or pipe the lemon cheesecake filling over the prepared crust in each cup, aiming for an even, level top.
7. Cover and refrigerate the cups for at least 2 hours, or until the filling is fully set and firm to the touch.
8. Just before serving, top each cup with fresh berries for a vibrant, fruity garnish that contrasts beautifully with the creamy filling.
These mini lemon cheesecakes shine in so many ways—whether you’re hosting a backyard brunch or craving a quick solo treat. Their bright flavor and pretty presentation make them a standout dessert for any occasion.
Nailing these cheesecakes comes down to balance: smooth filling, sturdy crust, and bold lemon flavor. Keep these friendly pointers in mind for a flawless finish every time.
Proper storage keeps these mini cups tasting as bright and creamy as the day you made them. Whether you’re prepping ahead or saving leftovers, follow these guidelines to maintain freshness and flavor.
Here are quick answers to some common questions that come up when making these zesty little cups:
A: From start to finish you’ll need about 30 minutes of active prep time plus at least 2 hours of chilling. The 30 minutes include crushing and pressing the crust, beating the cream cheese filling, whipping the cream, and assembling the cups. Then the cups must chill in the refrigerator for a minimum of 2 hours so the filling sets firmly.
A: The recipe makes 6 to 8 mini cups depending on how generously you fill each container. If you use 6 cups you’ll have slightly larger portions, and with 8 cups the portions are a bit smaller, perfect for party bites or individual desserts.
A: Press the graham cracker mixture down firmly with the bottom of a small glass or the back of a spoon. Pack the crumbs evenly around the base so the crust doesn’t crumble when you spoon in the filling. Chilling the crust alone for about 10 minutes before adding the filling can help it set more firmly.
A: Make sure your cream cheese is fully softened to room temperature before you begin. Beat it on medium speed for 2 to 3 minutes, scraping down the sides of the bowl, until it’s completely smooth. Sift the powdered sugar in as you mix to avoid clumps, and gently fold in the whipped cream rather than overmixing, which can deflate it.
A: You can prepare and assemble the cups up to 2 days ahead, keeping them covered in the refrigerator. For longer storage, freeze them without the berries for up to 1 month. To freeze, cover each cup tightly with plastic wrap, then thaw in the refrigerator for several hours or overnight before serving and adding fresh berries.
A: You can use high-quality bottled lemon juice in a pinch, though fresh juice gives the brightest flavor. If you lack fresh zest, you can add 1/4 teaspoon of pure lemon extract. For a twist, try lime or orange zest and juice in the same quantities to create different citrus variations.
A: If the whipped cream wasn’t beaten to stiff peaks or if the cream cheese was too cold, the filling can be loose. To fix it, whip an additional 2 tablespoons of heavy cream to stiff peaks and gently fold it into the mixture. Ensure your cream cheese is room temperature and your whipped cream holds firm peaks before folding.
A: Use certified gluten-free graham cracker crumbs or substitute with finely ground gluten-free cookies, almond flour, or crushed nuts. Combine them with the sugar and butter exactly as directed. The rest of the recipe remains unchanged, producing a crust that’s just as buttery and delicious without gluten.
These No Bake Mini Lemon Cheesecake Cups stand out because they deliver that classic cheesecake experience—creamy, tangy, and rich—without firing up the oven. The tiny servings make them both adorable and practical, perfect for sharing or savoring solo. The buttery graham crust, fluffy filling, and jewel-like berries create a delightful contrast of textures and flavors in every spoonful. Feel free to print and save this article for future dessert emergencies, and let me know in the comments if you have any tweaks or need help mastering the perfect lemony swirl!
Creamy tang of lemon cheesecake mingles with crisp graham cracker crust, crowned by vibrant berries. No baking needed—just chill and enjoy bright, velvety sweetness in each mini cup.

Hey there ! I'm Julia Martinez, and welcome to my kitchen where tradition meets innovation. Growing up in a multigenerational household, I learned that the best recipes aren't just about ingredients – they're about the stories, memories, and love that get passed down through each carefully prepared dish.