
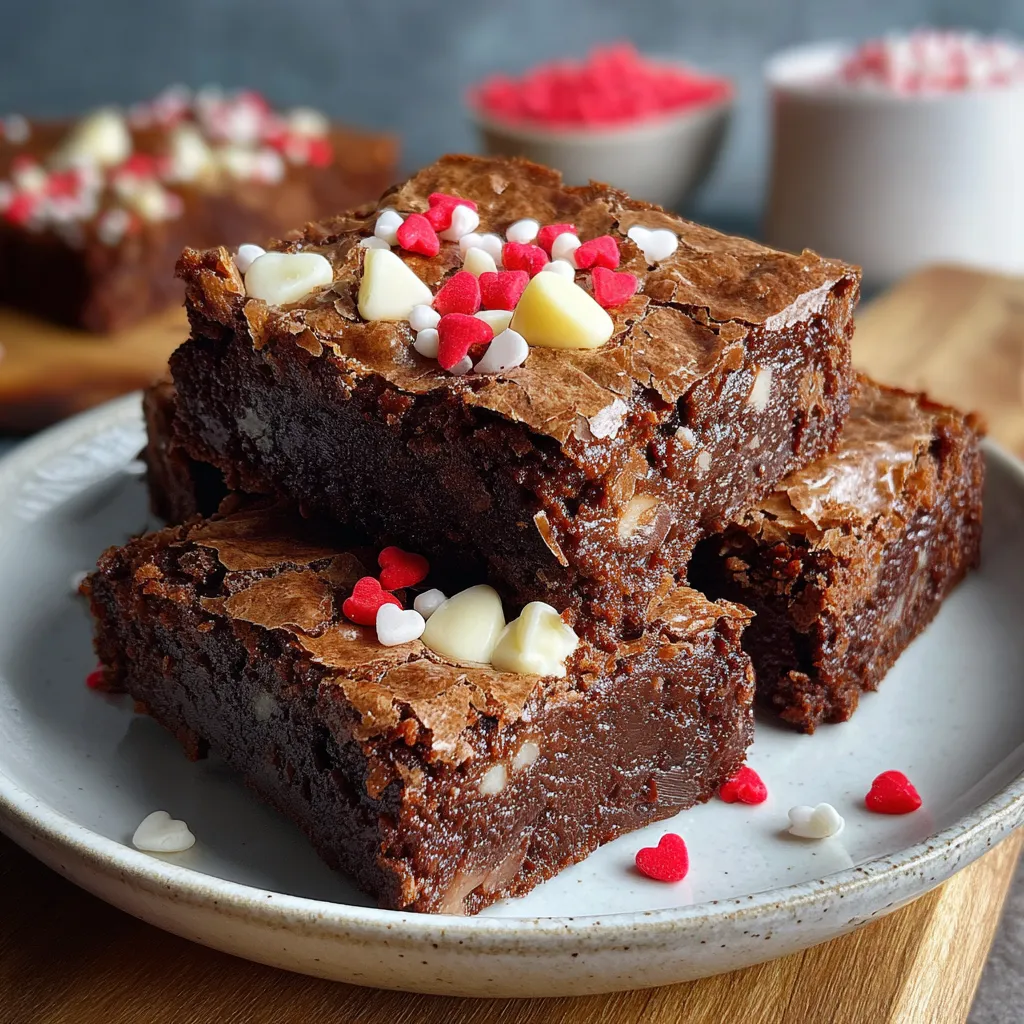
Rich & Chewy Valentine’s Fudge Brownies offer a decadent twist on classic brownies, marrying deep dark chocolate with gooey ribbons of sweetness and festive red sprinkles. With a crackly top giving way to a fudgy center dotted with creamy white chocolate chips, these brownies are perfect for any Valentine’s treat or cozy dessert moment. Whether you’re baking for someone special or indulging your own sweet tooth, this recipe promises rich flavor and an irresistibly chewy texture that will have everyone asking for seconds.
Before we get baking, let’s gather the essentials that make these brownies so irresistible:
Ready to transform those ingredients into sensational brownies? These step-by-step instructions walk you through preheating, melting, mixing, and baking until you achieve that perfect fudgy consistency under a shiny crackle. Get your mixing bowls and spatulas ready—these brownies come together quickly, and the payoff is pure chocolate bliss!
1. Preheat and prepare: Set your oven to 350°F, grease a 9x9-inch pan, then line it with parchment paper leaving an overhang for easy removal.
2. Melt the chocolate base: In a double boiler or microwave-safe bowl, combine the butter, semi-sweet chocolate chips, and cocoa powder. Stir continuously until completely smooth and glossy, ensuring no lumps remain.
3. Whisk sugar and eggs: In a large bowl, use a whisk or electric mixer to beat the granulated sugar, eggs, and vanilla extract until the mixture is pale and slightly thickened—this helps build volume.
4. Combine mixtures: Pour the warm melted chocolate into the egg mixture, stirring gently but thoroughly until fully integrated and uniform in color.
5. Fold in dry ingredients: Add the flour and salt, folding with a spatula just until no streaks of flour remain—overmixing can make brownies tough.
6. Add white chocolate: Gently fold in the white chocolate chips, then scrape the batter into your prepared pan, spreading it out evenly and smoothing the top.
7. Decorate: Sprinkle the red heart sprinkles evenly over the batter, pressing down lightly so they adhere during baking.
8. Bake and cool: Bake for 25–30 minutes until the edges are set and the center still jiggles slightly. Allow the brownies to cool completely in the pan—about 20–30 minutes—then lift out using the parchment overhang and slice into squares.
These brownies are delightfully versatile—here are four fun ways to present them at their absolute best:
Nailing that ideal fudgy texture with a glossy top takes just a few insider tricks. Keep your mixing deliberate, your ingredients high-quality, and your baking time closely monitored. These tips ensure every batch comes out gooey, chewy, and utterly irresistible.
Proper storage keeps your brownies tasting just-baked and chewy for days. Follow these simple methods to preserve freshness, texture, and that delightful crackly top:
Here are answers to common questions about making and storing these delicious Valentine’s brownies:
It takes about 15 minutes to prepare the batter, which includes greasing and lining the pan, melting the butter with semi-sweet chocolate and cocoa powder, whisking sugar with eggs and vanilla, and folding in the flour, salt, and white chocolate chips.
Bake the brownies for 25 to 30 minutes at 350°F until the edges are set and the center still jiggles slightly. Then let them cool completely in the pan—about 20 to 30 minutes—before lifting them out and cutting into squares to ensure clean edges.
For extra fudgy brownies, remove them from the oven at the lower end of the baking time, around 25 minutes, when the center is still very soft. Allow them to cool fully in the pan; this resting time helps them set to a rich, gooey consistency without overbaking.
Yes. You can swap the red heart sprinkles for Valentine’s M&Ms, crushed pink candies, pastel sprinkles, or even chopped nuts. Just sprinkle them evenly over the batter before baking so they adhere properly and maintain their shape.
Store brownies in an airtight container at room temperature for up to 3 days. For longer storage, layer them between sheets of parchment paper in a freezer-safe container and freeze for up to 1 month, then thaw at room temperature before serving.
You can use an 8x8-inch pan for thicker brownies, but bake 5 to 10 minutes longer to ensure the center sets. If you use a larger pan like 9x13 inches, the brownies will be thinner and may bake in 20 to 25 minutes, so start checking for doneness a few minutes early.
Melt them in a double boiler over gently simmering water, stirring constantly until smooth. If using a microwave, heat in 20-second intervals at medium power, stirring thoroughly after each interval and ensuring no water enters the mixture to prevent seizing.
The edges should be set and slightly pulling away from the pan sides, while the center should still have a slight jiggle. A toothpick inserted near the middle should come out with a few moist crumbs rather than wet batter.
These Rich & Chewy Valentine’s Fudge Brownies stand out thanks to their lush, gooey center and that irresistible crackly top dotted with creamy white chocolate and bright red hearts. They’re simple enough for a beginner yet deliver bakery-quality results that wow everyone. Best of all? You can easily customize the toppings or swap in your favorite candies for a personal touch. Go ahead and print this article or save it for later—then let me know how yours turned out, or drop a question or comment if you need a hand perfecting these festive, chocolaty delights!
These brownies bake to a gooey, fudgy finish under a crackly top, dotted with white chocolate chunks and bright red heart sprinkles. Each chewy square offers rich chocolate flavor and a festive pop of color.

Hey there ! I'm Julia Martinez, and welcome to my kitchen where tradition meets innovation. Growing up in a multigenerational household, I learned that the best recipes aren't just about ingredients – they're about the stories, memories, and love that get passed down through each carefully prepared dish.